Sample Projects
Lightship Maps provides playable sample scenes. They demonstrate basic to advanced functionality, from updating map tiles in the viewable area to using map feature data to customize gameplay.
How to Import a Sample
To run one of the samples included with Lightship Maps:
Import the sample in Package Manager from the Lightship Maps SDK.
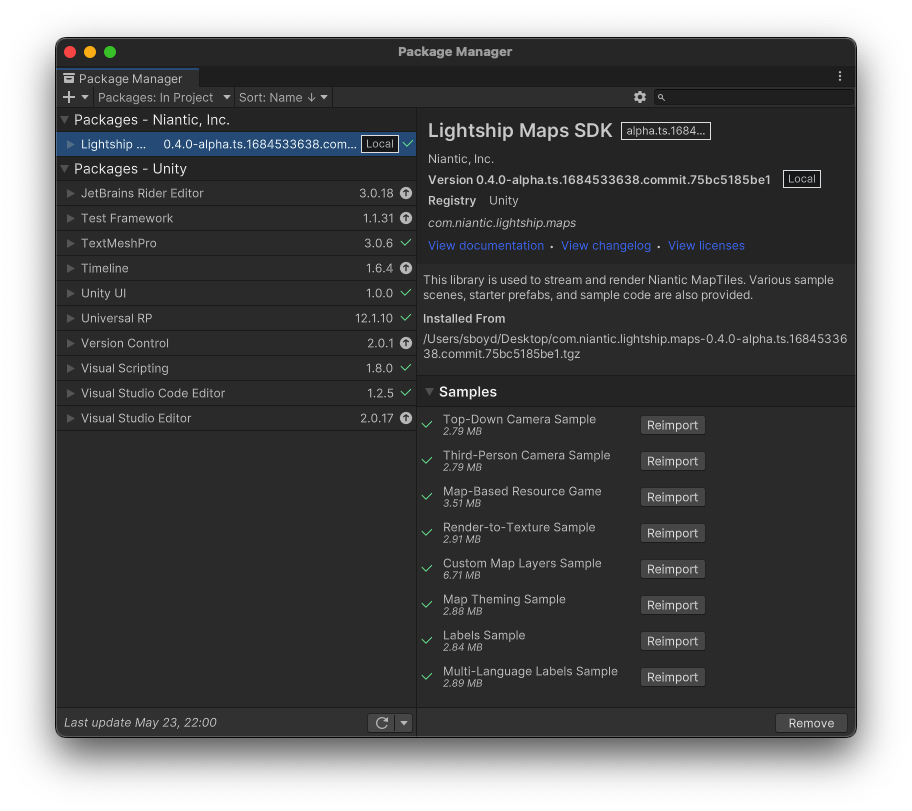
After importing the sample, navigate to the
Assets/Samples/Lightship Maps SDKfolder and select the sample scene to load it.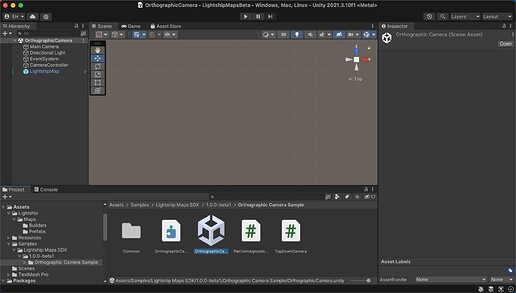
Play the scene.
tipIf your Lightship API key was not set, a notification window will appear, and the API Key Helper will open in a new window for you to enter your key.
Top-Down Camera Sample
Browse a real-world map with an orthographic camera.
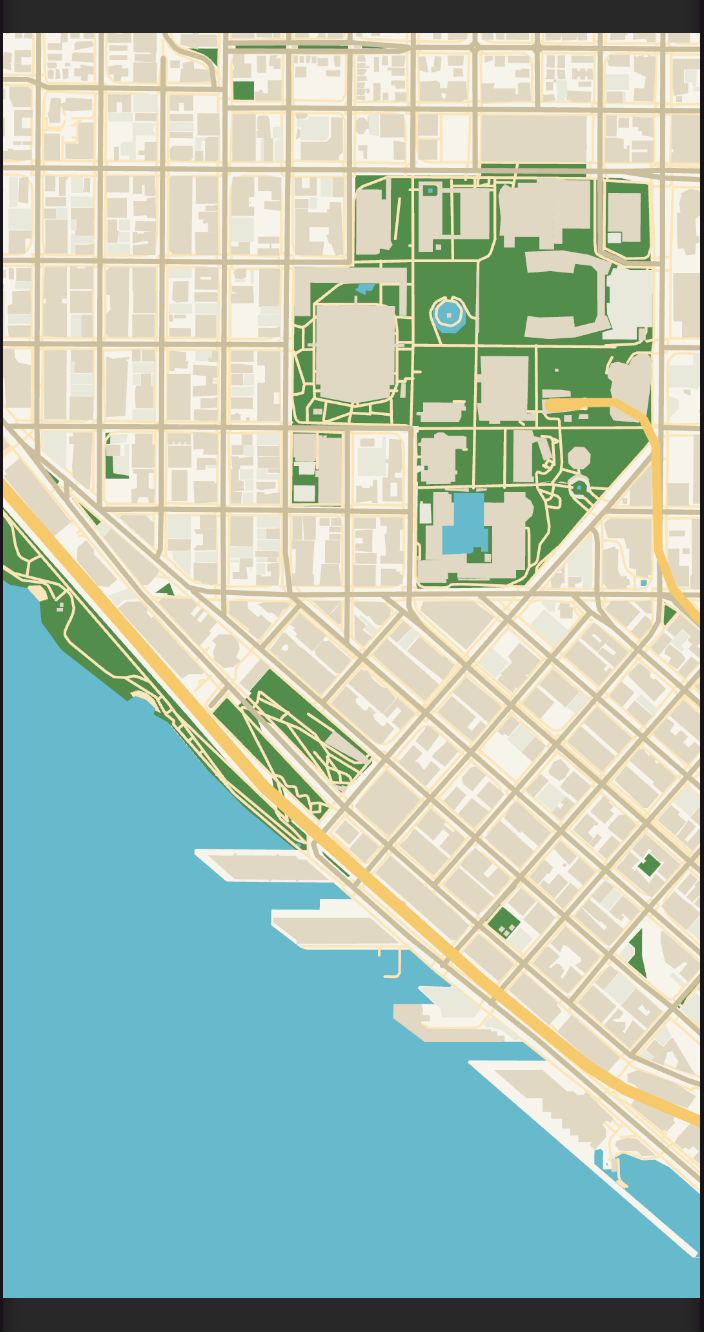
Instructions
Use your mouse to pan and zoom:
- Pivot the camera by touching-and-dragging around the capsule (or left-click and drag with your mouse).
- Zoom the camera by pinching in and out (or scrolling your mouse wheel).
Third-Person Camera Sample
Interact with a game-style orbit camera focused on a player (Doty) moving around the map.
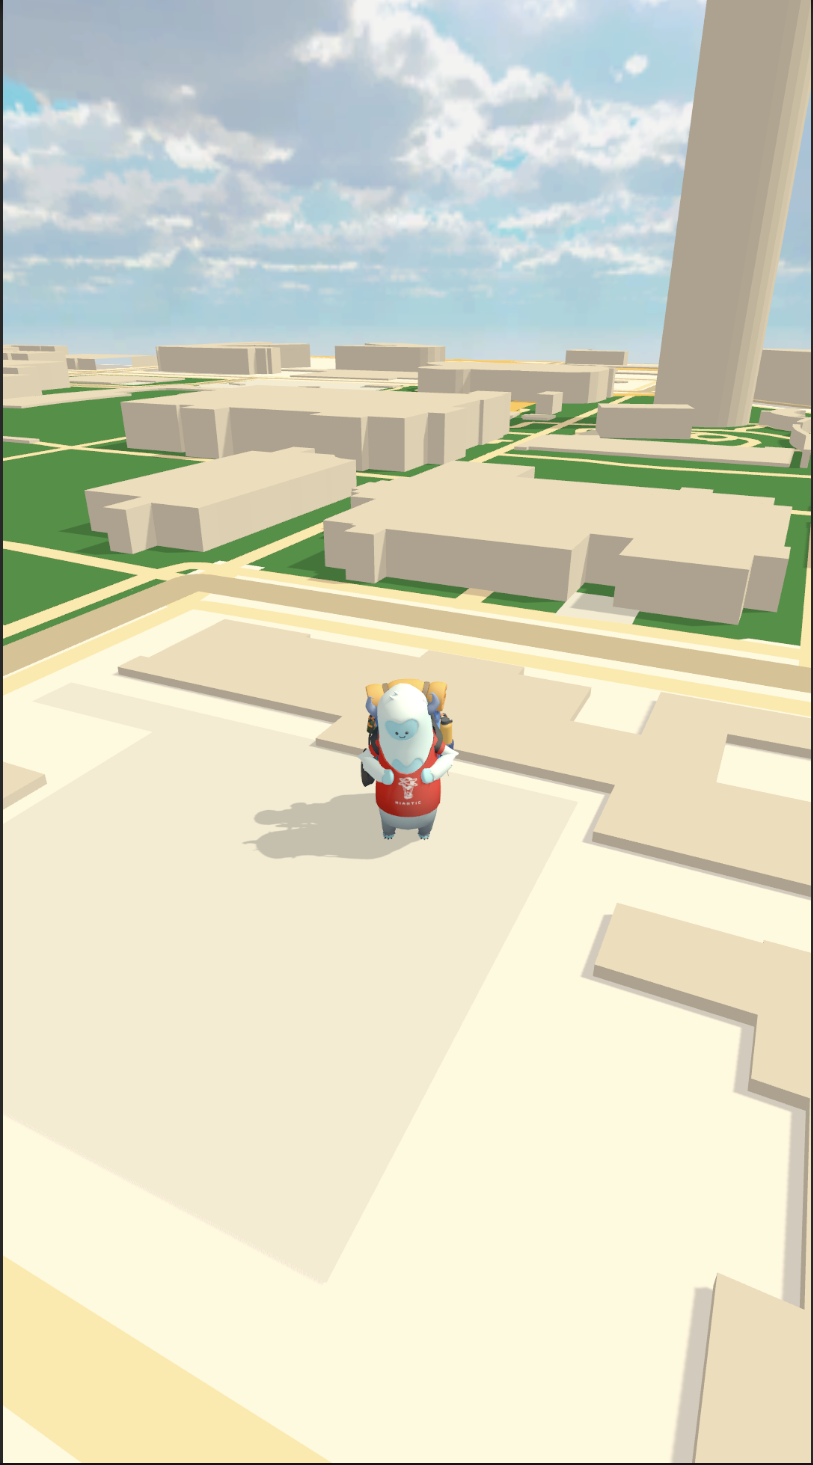
Instructions
Use your keyboard, mouse, and touch to move:
- Move the capsule with WASD keys.
- Pivot the camera by touching-and-dragging (or left-click and dragging with your mouse) around the capsule.
- Zoom the camera by pinching in and out (or scrolling your mouse wheel).
Scripting
In the components and scripts:
FocusObjectand itsPlayerLocationController.csscript reacts to player inputs and updates the player’s position and centers the map around the player. TheCapsulemesh represents the player.EventSystemhandles device/mouse controller inputs.
Map-Based Resource Game
A simple resource gathering and building game, this sample demonstrates how to use map feature data to place prefabs for gameplay elements and how to place player crafted objects on the map.
The game demonstrates:
- Using a game-style orbit camera
- Localizing with device GPS
- Creating a character to represent a player’s location
- Spawning items on the map based on map features
- Picking up and placing game objects on the map.
In Unity, play the resource game in a device simulator, because the UI is designed for a device.
Instructions
The game has a player representation on the map which is positioned using device location data (GPS). The player must find resources on the map to build structures that convert resources to other types. The goal of the game is to build the final structure, the Stronghold.
How to play:
- Build a Sawmill by collecting Wood from trees in parks. You can do this by clicking or tapping on the trees. A Sawmill converts Wood into Planks.
- Build a StoneMason by collecting Planks. Once a StoneMason is built, stones are spawned in parking lots, which can then be converted into bricks.
- To win, build a Stronghold by collecting Bricks.
Use your keyboard and mouse to move:
- Move the player with WASD keys.
- Pivot the camera view by right-click dragging.
- Collect resources by left-clicking on trees and rocks.
- Once you have collected enough resources, use the Build button to select structures to build, then select a structure and click on the Map to place it.
When building and running on a device, ensure you have permissions for Location services:
- On iOS, you must set the Location Usage Description field in the iOS Player Settings.
- On Android, Unity should automatically add
ACCESS_FINE_LOCATIONto your Android manifest; if you are using a custom manifest, you may need to add this yourself.
Scripting
Packages/com.niantic.lightship.maps/SampleAssets/Player/PlayerLocationController.csshows how to request and use device location data to position a player character on the map and interpolate their movements to smooth out any GPS jumps. It has examples of converting between map coordinates and Unity world position. Changes to the player’s Lat/Lng coordinates update both the player’s position and the map view.Scripts/MapFeaturePrefabSpawner.csis a MonoBehaviour that listens for changes to map tile data and spawns game prefabs based on features on the map.Scripts/MapGameMapInteractions.csis an example of interacting with elements on the map for gameplay. It uses touch (mouse) input to place objects on the map and checks for touches on resource elements on the map. It shows conversions from screen-space touches to map Lat/Lng coordinates.
Render-to-Texture Sample
Render textures allow for the creation of embedded maps and mini-maps within a game. This sample provides an example of render textures being used to create animated map transitions and displayed on a smaller portion of the UI using a secondary camera. This is helpful for integrations with the ARDK where the main camera is a custom AR camera that cannot be used to render the map.
The scene's LightshipMap is assigned to a new Unity layer called "LightshipMap". A second camera, called "Map Camera", is used to render the map to a render texture which is then displayed to the user on a RawImage canvas element. The map camera's culling mask is set to exclude everything but the "LightshipMap" layer, and, similarly, the main camera excludes the map by excluding this layer from its culling mask.
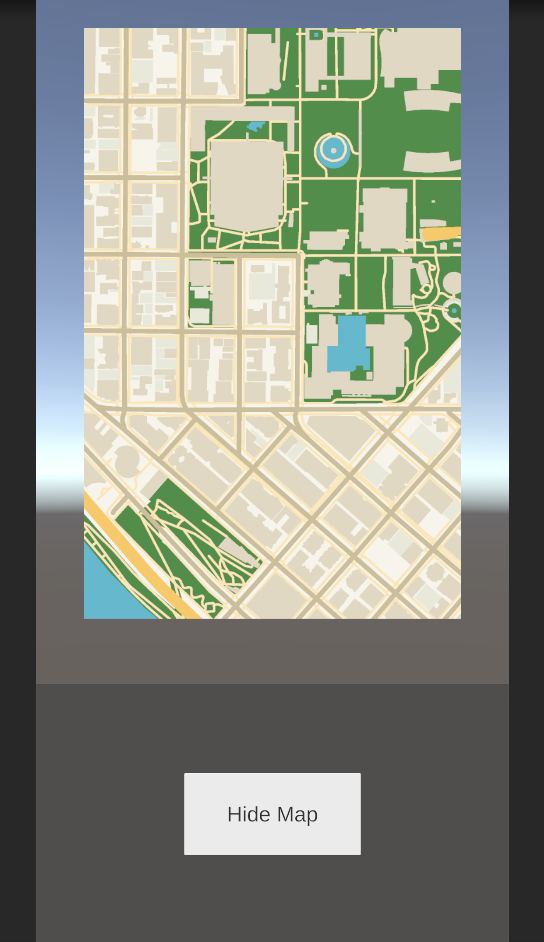
Instructions
Press the Show Map/Hide Map button to turn the map visibility on and off.
Scripting
RenderToTextureManager.csis a MonoBehaviour that is used to enable or disable the top-down camera based on the map's visibility. It also selects a random animation based on the state and sets the map visibility in theRenderTextureAnimatorcomponent.
Custom Map Layers Sample
This sample showcases how to use the line and polygon map layers by drawing filled in borders around each selected state of the United States.
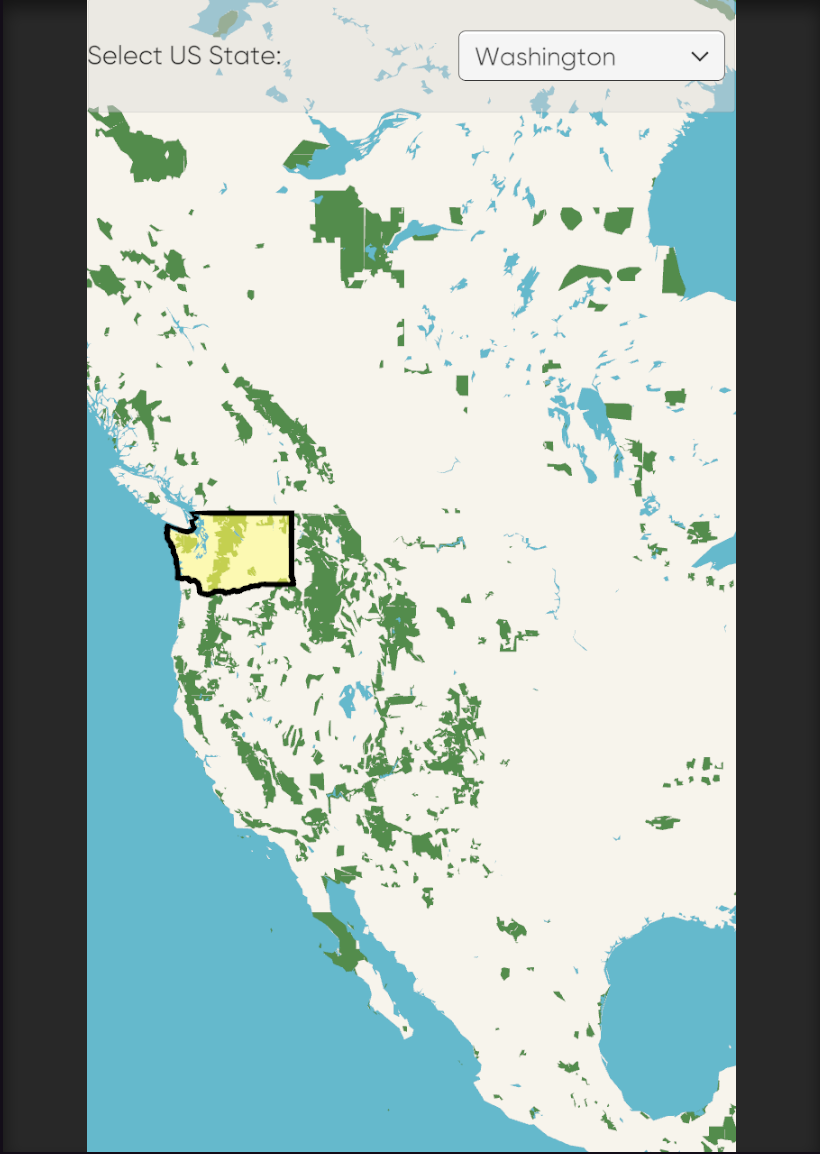
Instructions
Use the dropdown towards the top of the screen to select a state. Once you select a new state, the sample draws a border around the state using the LayerLineRenderer component and filled in yellow using a LayerPolygonRenderer component. When you select a new state, the border disappears from the previously selected state and the polygon color changes to purple. Note that the border is only drawn the first time you select a state.
Scripting
CustomMapLayersManager.cskeeps track of the selected and visited states and updates their visual representation using Line and Polygon renderers. When a new state is selected, it draws a border around the state using the line renderer and filled using the polygon renderer. If there was a previously selected state, it draws the polygons for the visited state in a different color.The
StateBoundariesInternal.csclass is responsible for managing the selection of states using a dropdown menu and contains references to the necessary components for state boundary management.StateBoundarySelector.cshandles the state selection events.
Map Theming Sample
This sample showcases how Map Themes can be used to change the visual style of the map. This also showcases all available built-in map themes.
Instructions
Use the Change Scene button at the top of the screen to switch between a top-down and third-person camera view. Use the Next Theme and Last Theme buttons to switch between different map themes.
Scripting
SceneSwitcher.csis a MonoBehaviour that manages the transition between the top-down and third person camera view scenes.ThemeSelector.csshowcases how to update themes dynamically at runtime. It contains references to an array of available map themes, which is then set and updated in the LightshipMapView.
Labels Sample
This sample showcases the use of Maptile feature label builders. This sample uses a top-down camera.
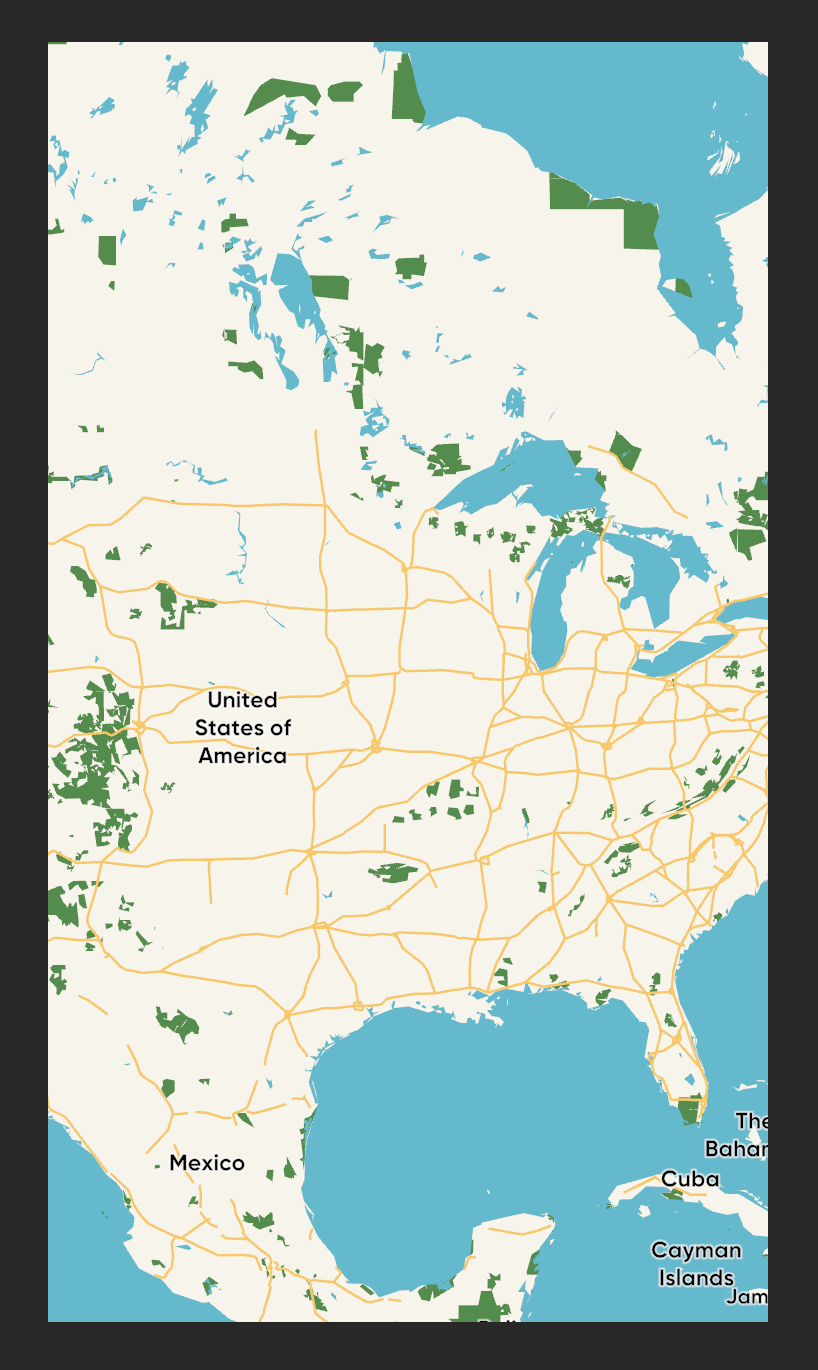
Label Builders
Label builders are an experimental implementation in the samples, and not part of Maps SDK core. The sample implementation of label builders can be found in Lightship Maps SDK/SampleAssets/Experimental/Labels and is intended as a reference implementation for custom label placement.
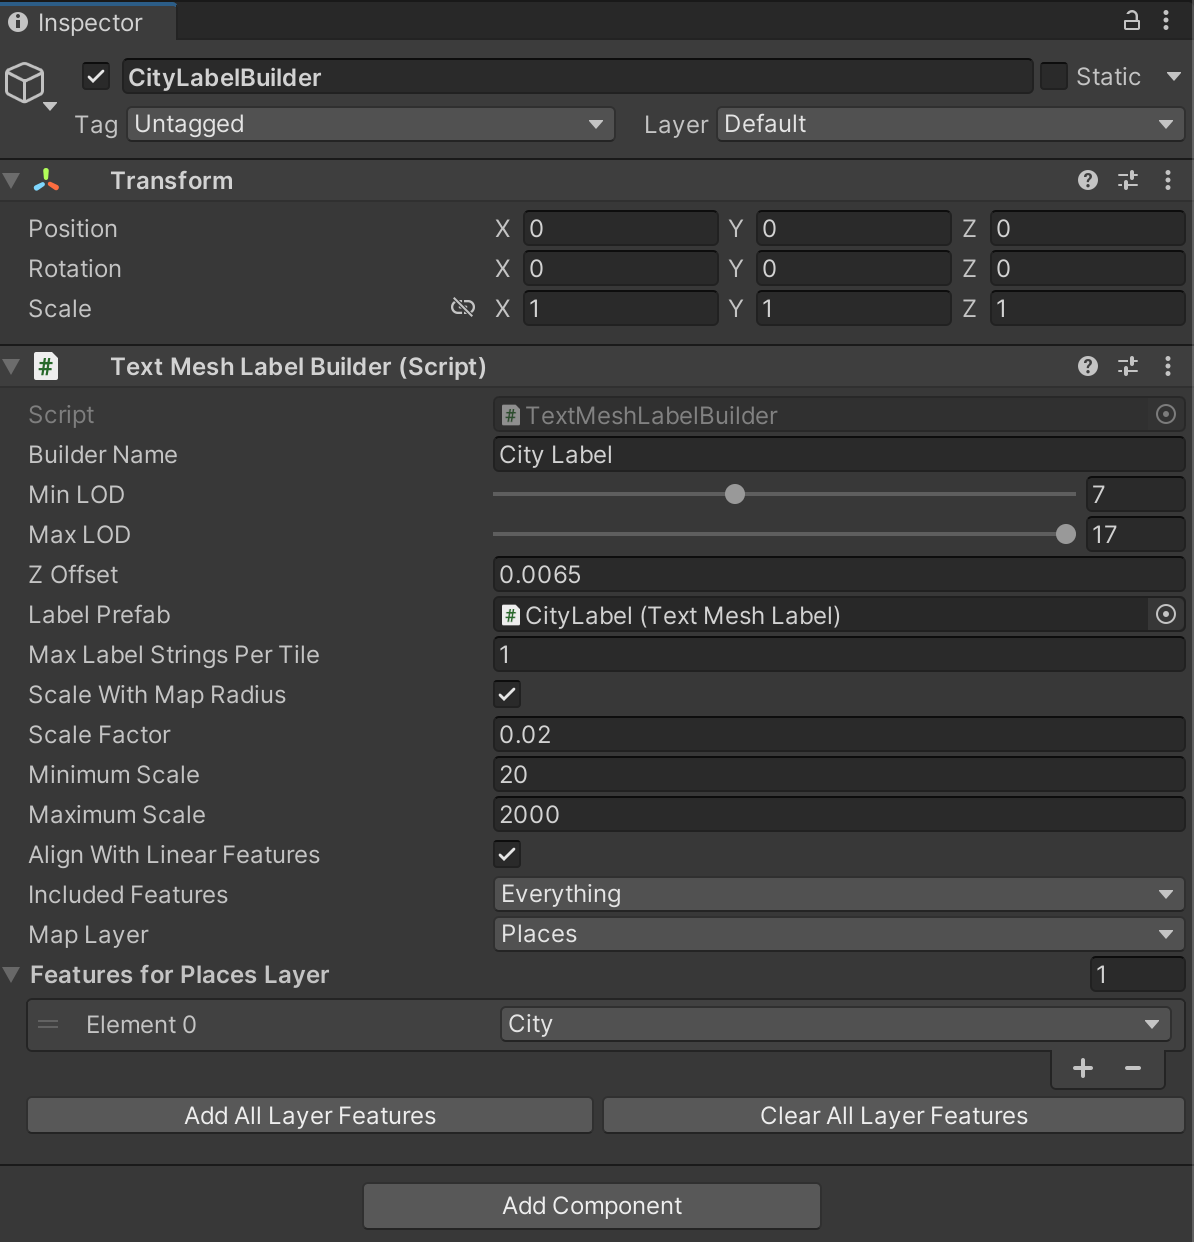
The sample has a custom TextMeshLabelBuilder for rendering label text placement. TextMeshLabelBuilder is designed to be similar to existing Feature builders and has similar fields, with the addition of the following:
- Label Prefab - Prefab used to render the text.
- Max Label Strings Per Title - Used for limiting number of labels per maptile.
- Scale With Map Radius - If checked, will keep the text size the same during map zooms.
- Minimum Scale - Minimum allowed scale, in scene units.
- Maximum Scale - Maximum allowed scale, in scene units.
- Align with Linear Features - If set, will attempt to align the text on the tangent at the point of placement on a linear feature such as roads.
- Included Features - Flags indicating which maptile feature types will be used as strings.
Scripting
Maptile feature label builders are included as part of the
FeatureLabelsThemeprefab in the sample and are loaded as part of the map. You can find them by opening the theme in the Hierarchy: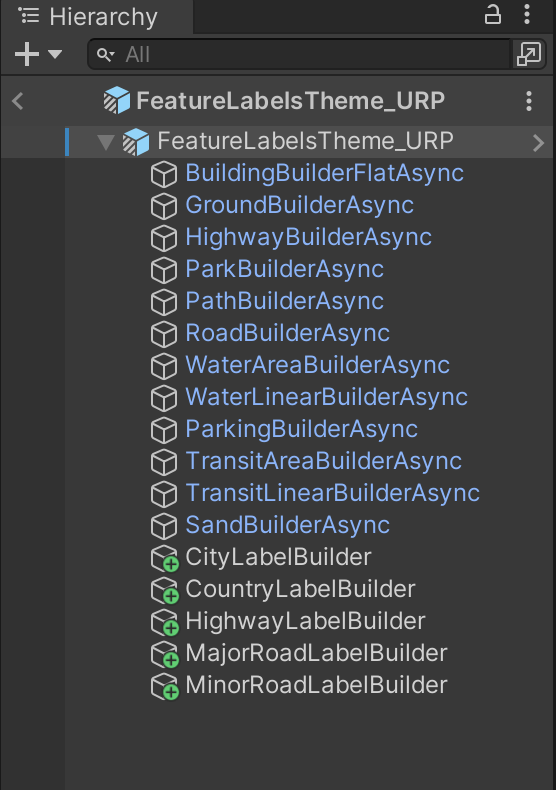
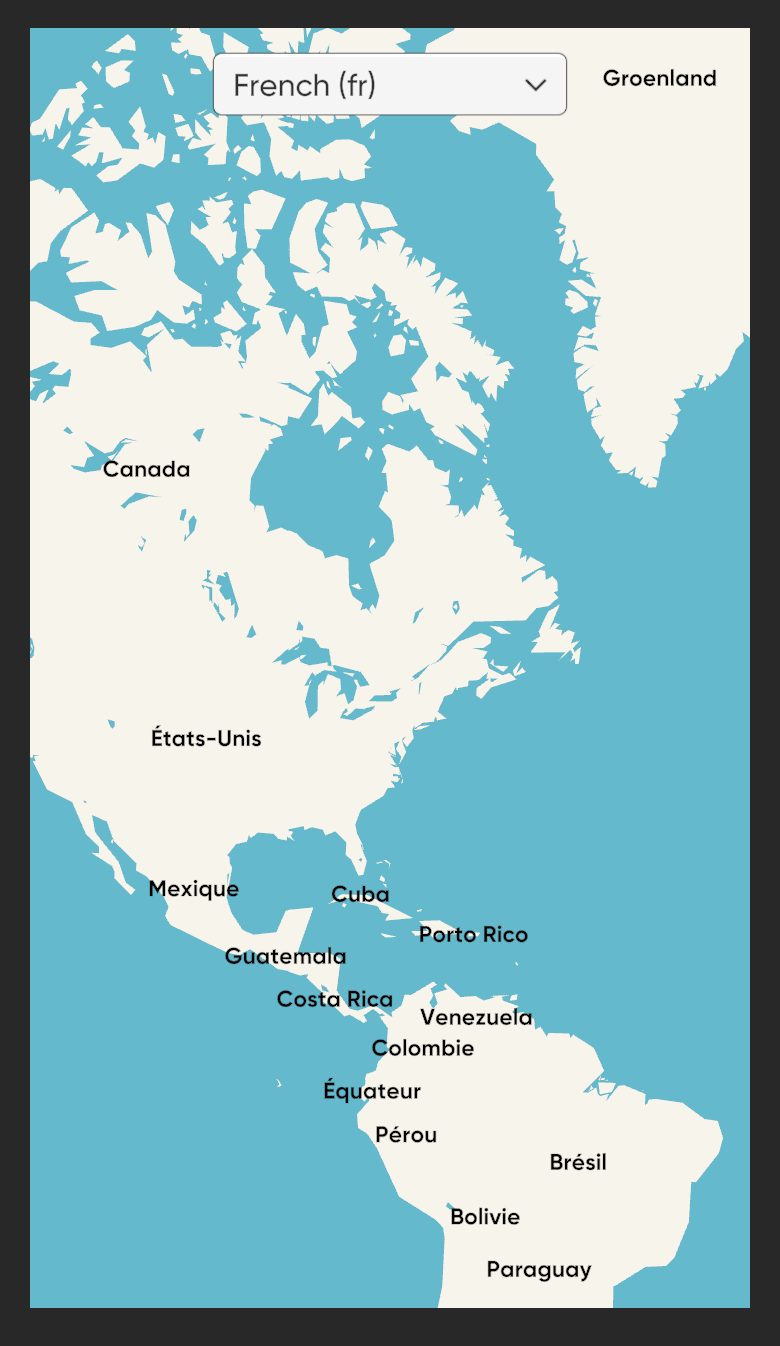
Multi-Language Labels Sample
A sample showcasing Maptile feature labels in different languages and scripts. This sample displays the map using a top-down camera. It uses the same experimental TextMeshLabelBuilder as the Labels Sample for rendering text labels.

Scripting
SwitchLanguage.csshows how to update the language displayed on the map by updating the language settings in the LightshipMapManager, which then triggers a refresh of the map in the LightshipMapView.