Getting Started with Lightship Maps
Lightship Maps are in Public Beta. Features and functionality in Public Beta products are subject to change.
This guide will walk you through how to start a new Unity project with Lightship Maps. When you finish you will be loading a map into your Unity scene.
Prerequisites
You will need a new 3D (URP) Unity project with Lightship Maps installed and your API key already setup. For instructions, see Installing the Lightship Maps SDK.
Getting Started
Add maps to a scene by importing the LightshipMap Unity prefab.
-
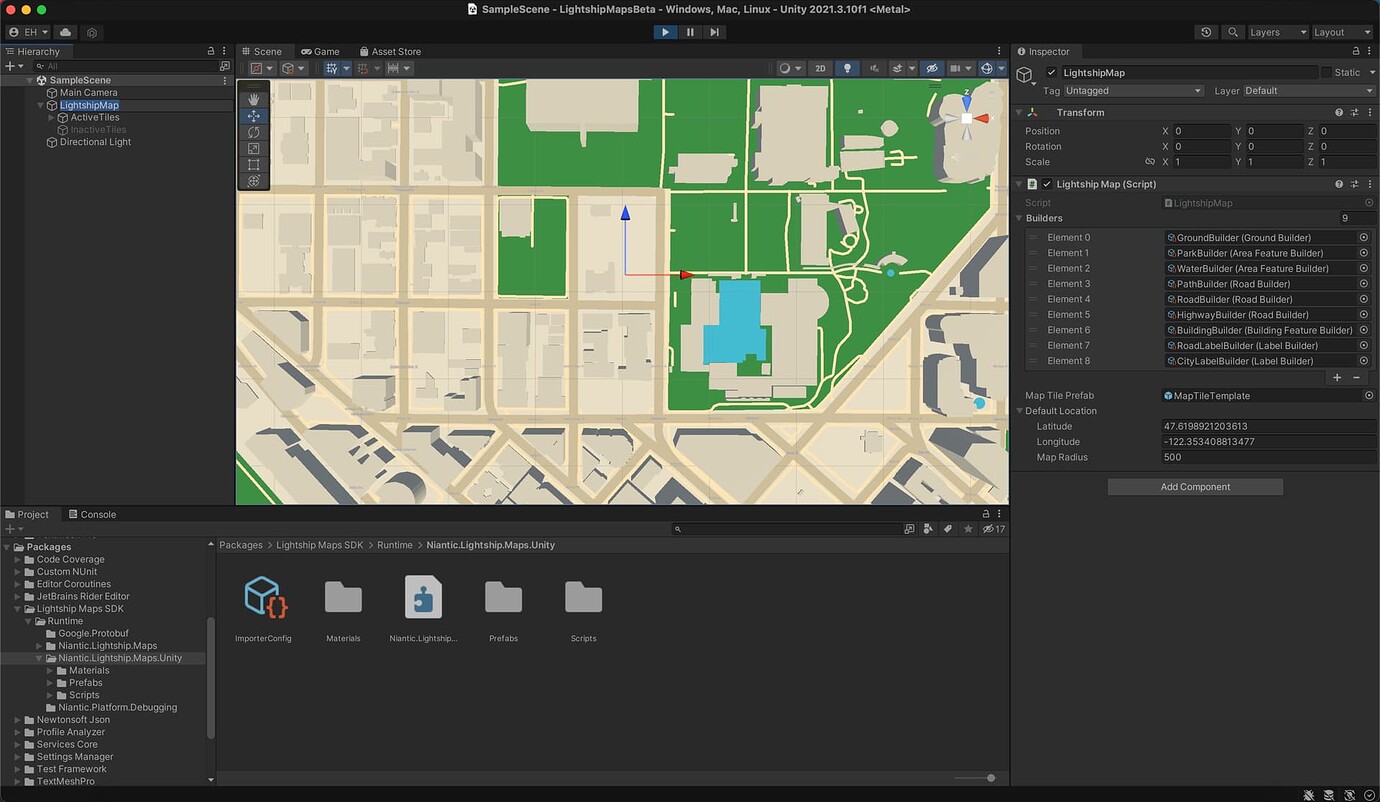
Once you've added the Lightship package and setup your API key (see Installing the Lightship Maps SDK), select Lightship > Maps SDK > Add Lightship Map to Scene. This will add the
LightshipMapprefab to your scene. -
Install TMP Essential Resources. Lightship Maps uses this component to render text.
-
Select Window > TextMeshPro > Import TMP Essential Resources.
-
In the dialog box, click Import.
-
-
Select the Scene tab. From the Edit menu, select Play (or press the Play button in the Editor). Now you should see a map rendered in your scene: