How to Set Up and Run Lightship Simulation
Lightship Simulation allows you to test your AR content in-editor without having to use Unity's playback mode. Our simulation mode allows you to move freely around a virtual 3D space while testing out your AR features in real time.
Prerequisites
You will need a Unity project with ARDK 3.4 or higher installed and a basic AR scene. For more information, see Installing ARDK 3 and Setting up a Basic AR Scene.
Enabling Lightship Simulation
To enable Lightship Simulation in your Unity project:
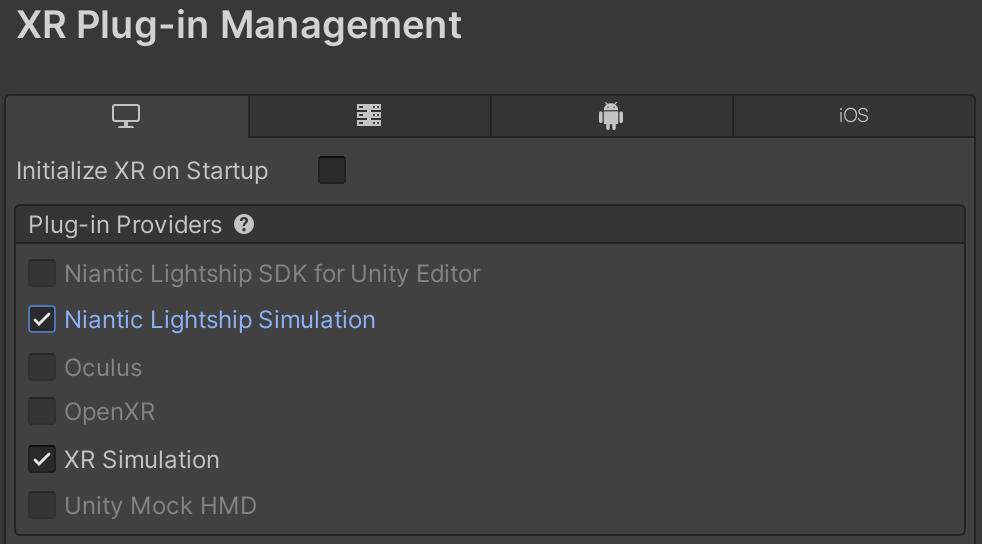
- In the Lightship top menu, select XR Plug-in Management, then check the box labeled Niantic Lightship Simulation. This will enable Unity's XR Simulation as well.
Creating and Setting a SimulationEnvironment
Before running your simulation, you will need to turn a prefab into a SimulationEnvironment that the system can navigate by making one from scratch or using the default environment as a template.
- To create an environment from scratch:
- Open or create the prefab you would like to use as your
SimulationEnvironment. - In the Inspector, click Add Component and add a Simulation Environment component to the prefab.
- In the Simulation Environment Component, set the Camera Starting Pose (Position) to
0, 0, 0and the Camera Movement Bounds (Extents) to a value large enough to encompass the entire simulation, such as1000, 1000, 1000.
- Open or create the prefab you would like to use as your
- To use the default environment as a template:
- Open the Window top menu, then select XR > AR Foundation > XR Environment. The XR Environment window will open.
- In the XR Environment overlay, click the icon with a pencil and a plus sign, then select Create environment.
- Choose a name and location in your project assets to save the prefab and click Save.
- In the Hierarchy, select the root object with your chosen environment name.
- In the Inspector, open the Simulation Environment Component, then set the Camera Starting Pose (Position) to
0, 0, 0and the Camera Movement Bounds (Extents) to a value large enough to encompass the entire simulation, such as1000, 1000, 1000.
To set the environment:
- Open the Window top menu, then select XR > AR Foundation > XR Environment. The XR Environment window will open.
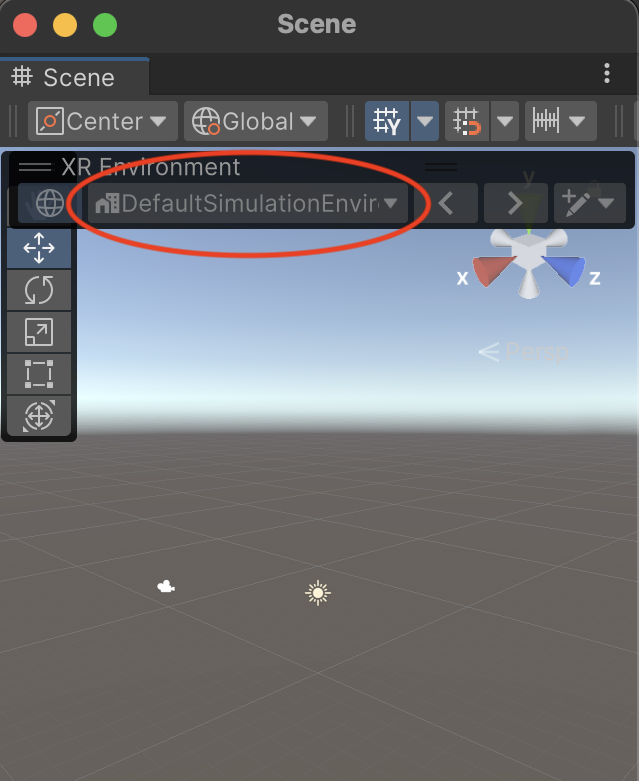
- Click the drop-down menu in the XR Environment overlay, then select your environment prefab from the list to assign it in Unity.
Without a simulation environment set, Unity will default to a basic environment. If you load your simulation and find yourself in the default, make sure the camera values are properly set and that there is no type mismatch.
Lightship Simulation Settings
To change the Lightship simulation settings, open the Lightship top menu, then select Settings. The simulation settings are at the bottom of the Lightship Settings menu.
The simulation settings are as follows:
- Environment Prefab - This option provides a place to set the environment prefab.
- Use Z-Buffer Depth - Enabling this option will use the exact depth from the simulation. Disabling this option will use computed depth from the Niantic Spatial Platform depth algorithm.
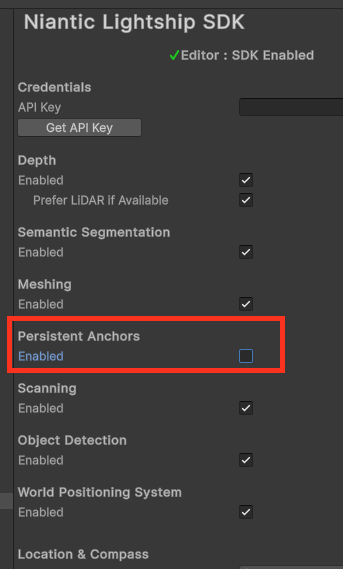
- Use Lightship Persistent Anchors - Disable this option to use Simulation VPS. Enabling this option will run real VPS on simulated environments. Disabling it will enable additional options for configuring Simulation VPS:
- Minimum/Maximum Anchor Discovery Time Seconds - Sets the minimum and maximum time (in seconds) that must pass before the anchor is surfaced.
- Apply Translational Offset - Enabling this offsets the position of the anchor when it is surfaced by a random amount between 0 and the Offset Severity.
- Translational Offset Severity Meters - Specifies the maximum distance (in meters) that the anchor can be offset.
- Apply Rotational Offset - Enabling this offsets the rotation of the anchor when it is surfaced by a random amount between 0 and the Offset Severity.
- Rotational Offset Severity Degrees - Specifies the maximum rotation (in degrees) of the anchor offset.
- Surface Anchor Failure - Enabling this allows you to test a failed anchor instead of a successful one.
- Tracking State Reason - Specifies which kind of failed anchor to test.
Running and Using the Simulation
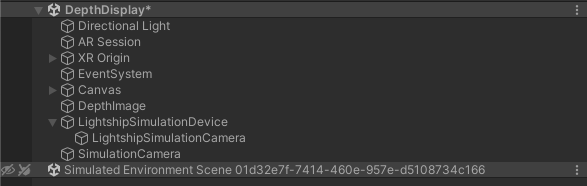
Once you have loaded the simulation environment, press Play. Lightship will load the environment into a new scene called Simulated Environment Scene on Layer 30, then start the simulation.
To unlock movement in the simulation, hold down the right mouse button (or tap and hold with two fingers on trackpad) in the game view, then use these controls to move around:
- WASD keys to move forward/backward and strafe;
- Move the mouse to rotate the view;
- Q and E keys to move up and down;
- Shift to go faster.