How to Enable Object Detection
Lightship Object Detection adds over 200 classes to the Lightship contextual awareness system, allowing for semantically labeled 2D bounding boxes around objects in images.
Prerequisites
You will need a Unity project with ARDK installed and a basic AR scene. For more information, see Installing ARDK 3 and Setting up an AR Scene.
Setting Up the Object Detection UI
To set up the object detection UI:
- In the Hierarchy, select the Main Camera, then, in the Inspector, click Add Component and add an AR Object Detection Manager.
- Create UI elements to display the output:
- In the Hierarchy, right-click in the main scene, then mouse over UI and select Text - Text Mesh Pro.
- If the "TMP Importer" dialog box appears, select Import TMP Essentials.
- Select the new Text (TMP) object and rename it ObjectsDetectedText.
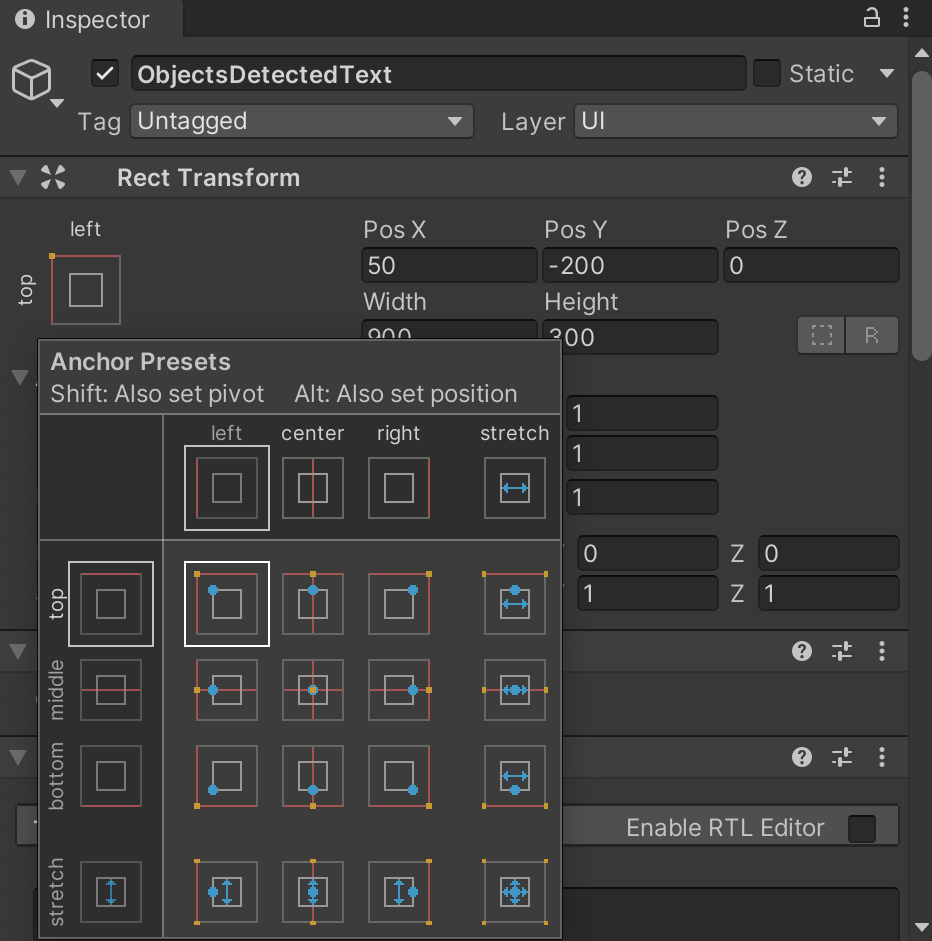
- With ObjectsDetectedText still selected, in the Inspector, find the Rect Transform menu. Click the Anchor Presets box, then hold Shift and select the top-left box to anchor the text to the upper left.
- Set the positional values as follows:
- Pos X: 50
- Pos Y: -200
- Pos Z: 0
- Width: 900
- Height: 300

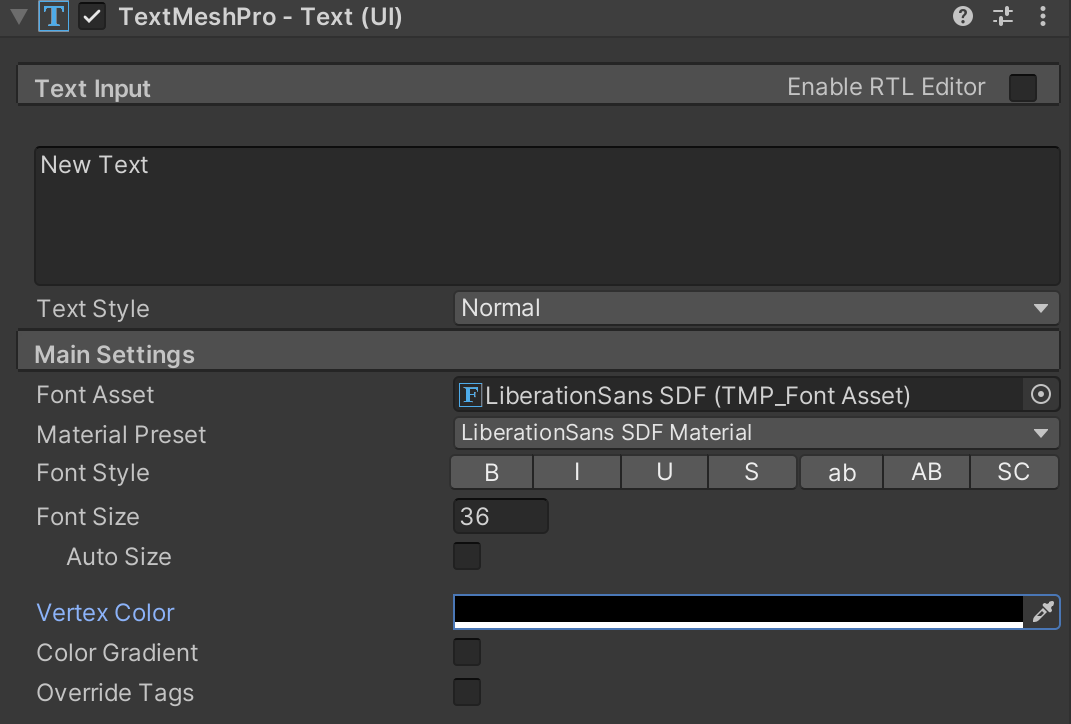
- For readability, set the text vertex color to black.

Adding the Object Detection Script
To add the object detection script:
- Right-click in the Assets directory in the Project tab, then mouse over Create and select C# Script. Name it ObjectDetectionOutputManager, then add the following code to it:
Click to reveal the object detection script
using System;
using System.Collections;
using System.Collections.Generic;
using System.Linq;
using Niantic.Lightship.AR.ObjectDetection;
using Niantic.Lightship.AR.Subsystems.ObjectDetection;
using Niantic.Lightship.AR.XRSubsystems;
using TMPro;
using UnityEngine;

public class ObjectDetectionOutputManager : MonoBehaviour
{
    [SerializeField]
    private ARObjectDetectionManager _objectDetectionManager;

    [SerializeField]
    public TMP_Text _objectsDetectedText;

    private void Start()
    {
        _objectDetectionManager.enabled = true;
        _objectDetectionManager.MetadataInitialized += OnMetadataInitialized;
    }

    private void OnMetadataInitialized(ARObjectDetectionModelEventArgs args)
    {
        _objectDetectionManager.ObjectDetectionsUpdated += ObjectDetectionsUpdated;
    }

    private void ObjectDetectionsUpdated(ARObjectDetectionsUpdatedEventArgs args)
    {
        //Initialize our output string
        string resultString = "";
        var result = args.Results;

        if (result == null)
        {
            Debug.Log("No results found.");
            return;
        }

        //Reset our results string
        resultString = "";

        //Iterate through our results
        for (int i = 0; i < result.Count; i++)
        {
            var detection = result[i];
            var categorizations = detection.GetConfidentCategorizations();
            if (categorizations.Count <= 0)
            {
                break;
            }

            //Sort our categorizations by highest confidence
            categorizations.Sort((a, b) => b.Confidence.CompareTo(a.Confidence));

            //Iterate through found categoires and form our string to output
            for (int j = 0; j < categorizations.Count; j++)
            {
                var categoryToDisplay = categorizations[j];

                resultString += "Detected " + $"{categoryToDisplay.CategoryName}: " + "with " + $"{categoryToDisplay.Confidence} Confidence \n";
            }
        }

        //Output our string
        _objectsDetectedText.text = resultString;
    }


    private void OnDestroy()
    {
        _objectDetectionManager.MetadataInitialized -= OnMetadataInitialized;
        _objectDetectionManager.ObjectDetectionsUpdated -= ObjectDetectionsUpdated;
    }
}
- Drag and drop the new script onto the Main Camera in the Hierarchy to add it as a component.
- Assign objects to the script:
-
In the Hierarchy, select the Main Camera, then find the ObjectDetectionOutputManager script component in the Inspector.
-
Assign the Main Camera to the
Object Detection Managerfield, then assign ObjectsDetectedText to theObjects Detected Textfield.
-

Example Result
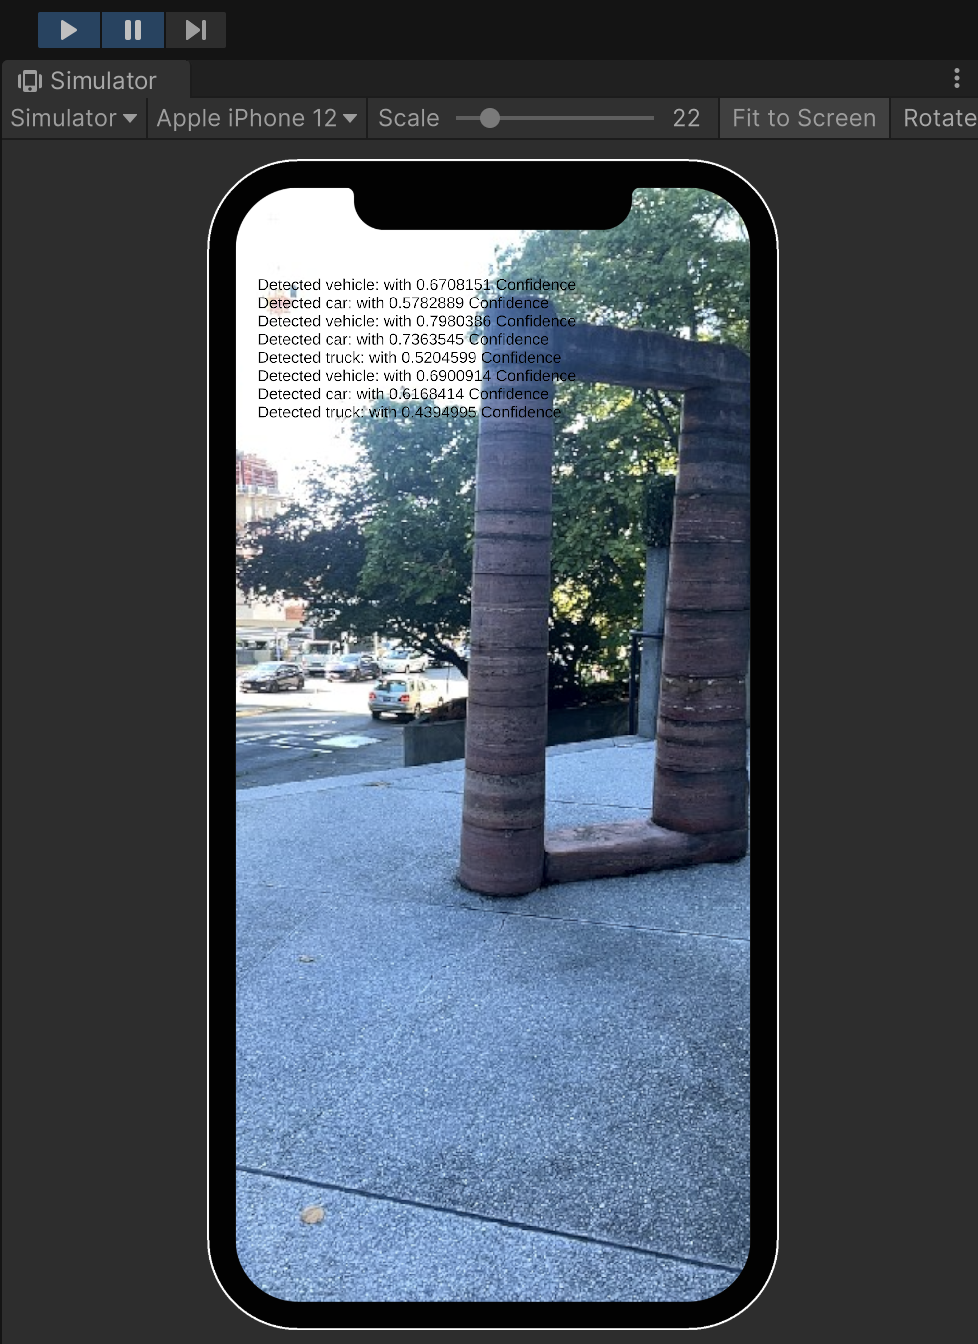
You should now be able to test Object Detection using AR Playback or on your mobile device and see the detection output in the top left corner of the screen, as in the following image:
