How To Access and Display Depth Information
This how-to covers accessing the depth buffer and provides a use case for that information. In this example, a shader takes in depth information and displays it on-screen as a color filter.
This how-to covers:
- Accessing the depth buffer and displaying it on screen using a shader.
- Getting the display transform from the camera to set rotation and aspect ratio.
- Passing the raw depth texture and the matrix to a shader.
- Calculating the correct sampling points on the depth texture using the display matrix.
- Converting the texture to a color scale mathematically as an example of what to do with depth information.
Prerequisites
You will need a Unity project with ARDK installed and a set-up basic AR scene. For more information, see Installing ARDK 3 and Setting up an AR Scene.
Adding the AR Occlusion Manager
To help display the depth information using Lightship's AR Occlusion Manager:
- Add an
AROcclusionManagerto your Main CameraGameObject:- In the Hierarchy, expand the
XROriginand Camera Offset, then select the Main Camera object. Then, in the Inspector, click Add Component and add anAROcclusionManager.
- In the Hierarchy, expand the
Adding a Raw Image
To add the raw image that will display depth information:
- Add a Raw Image to the Hierarchy under the AR scene:
- Right-click in the Hierarchy under the main scene, then mouse over UI and select Raw Image.
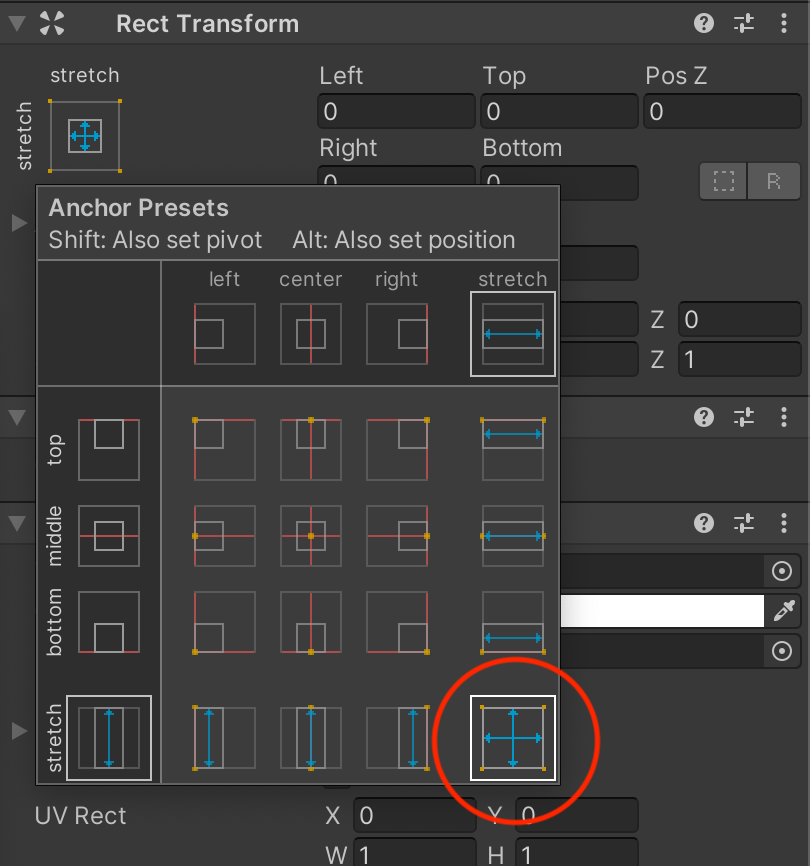
- Using the image transform tools, center the Raw Image and stretch it across the screen to make it visible later (see image below).
- Set all parameters (Left, Top, Z, Right, Bottom) to 0.
Adding a Material and Shader
To create a material and shader:
- In the Assets window, right-click, then mouse over Create and select Material. Name it DepthMaterial.
- Repeat this process, but mouse over Shader and select Standard Surface Shader. Name it DisplayDepth.
- Drag the shader onto the material to connect them.
- Add the code from DisplayDepth Shader Code to the DisplayDepth shader.
Click here to reveal the DisplayDepth code
DisplayDepth Shader Code
Shader "Unlit/DisplayDepth"
{
    Properties
    {
        _MainTex ("_MainTex", 2D) = "white" {}
        _DepthTex ("_DepthTex", 2D) = "green" {}
    }
    SubShader
    {
        Tags {"Queue"="Transparent" "IgnoreProjector"="True" "RenderType"="Transparent"}
        Blend SrcAlpha OneMinusSrcAlpha
        // No culling or depth
        Cull Off ZWrite Off ZTest Always
        Pass
        {
            CGPROGRAM
            #pragma vertex vert
            #pragma fragment frag

            #include "UnityCG.cginc"

            struct appdata
            {
                float4 vertex : POSITION;
                float2 uv : TEXCOORD0;
            };

            struct v2f
            {
                float2 uv : TEXCOORD0;
                float2 texcoord : TEXCOORD1;
                float4 vertex : SV_POSITION;

            };

            float4x4 _DisplayMat;

            v2f vert (appdata v)
            {
                v2f o;
                o.vertex = UnityObjectToClipPos(v.vertex);
                o.uv = v.uv;

                #if !UNITY_UV_STARTS_AT_TOP
                o.uv.y = 1-o.uv.y;
                #endif

                //we need to adjust our image to the correct rotation and aspect.
                o.texcoord = mul(float3(o.uv, 1.0f), _DisplayMat).xy;
                return o;
            }

            sampler2D _MainTex;
            sampler2D _DepthTex;

            fixed4 frag (v2f i) : SV_Target
            {
                float depth = tex2D(_DepthTex, i.texcoord).r;

                const float MAX_VIEW_DISP = 4.0f;
                const float scaledDisparity = 1.0f / depth;
                const float normDisparity = scaledDisparity / MAX_VIEW_DISP;

                return float4(normDisparity,normDisparity,normDisparity,0.8);
            }
            ENDCG
        }
    }
}
Creating a Script to Get Depth Data
- Create a C# Script file in the Assets window.
- Name it Depth_HowTo.
- Open Depth_HowTo in a file editor, then add the code from Depth Script Code.
Depth Script Code
using System;
using UnityEngine;
using UnityEngine.UI;
using UnityEngine.XR.ARFoundation;
using UnityEngine.XR.ARSubsystems;

public class Depth_HowTo : MonoBehaviour
{
    public ARCameraManager _cameraManager;

    public AROcclusionManager _occlusionManager;

    public RawImage _rawImage;

    public Material _material;

    private Matrix4x4 _displayMat = Matrix4x4.identity;

    void OnEnable()
    {
        _cameraManager.frameReceived += OnCameraFrameUpdate;
    }

    private void OnDisable()
    {
        _cameraManager.frameReceived -= OnCameraFrameUpdate;
    }

    void Update()
    {
        if (!_occlusionManager.subsystem.running)
        {
            return;
        }

        //add our material to the raw image
        _rawImage.material = _material;

        //set our variables in our shader
        //NOTE: Updating the depth texture needs to happen in the Update() function
        _rawImage.material.SetTexture("_DepthTex", _occlusionManager.environmentDepthTexture);
        _rawImage.material.SetMatrix("_DisplayMat",_displayMat);
    }

    private void OnCameraFrameUpdate(ARCameraFrameEventArgs args)
    {
        if (!_occlusionManager.subsystem.running)
        {
            return;
        }

        //get the display matrix
        _displayMat = args.displayMatrix?? Matrix4x4.identity;

        #if UNITY_ANDROID && !UNITY_EDITOR
            _displayMat = _displayMat.transpose;
        #endif
    }
}
Putting It All Together
To connect all the pieces and test it out:
- Create an Empty GameObject.
- Drag the Depth_HowTo Script to the Empty GameObject.
- In the Inspector:
- Drag the main camera to the script under Camera Manager.
- Drag the main camera to the script under Occlusion Manager.
- Drag the material to the script under Material.
- Pass the raw image to the script under Raw Image.
- Open Build Settings and build the scene to a device to try it out.
Output

Depending on modifications to the shader, your sample scene may not look the same!