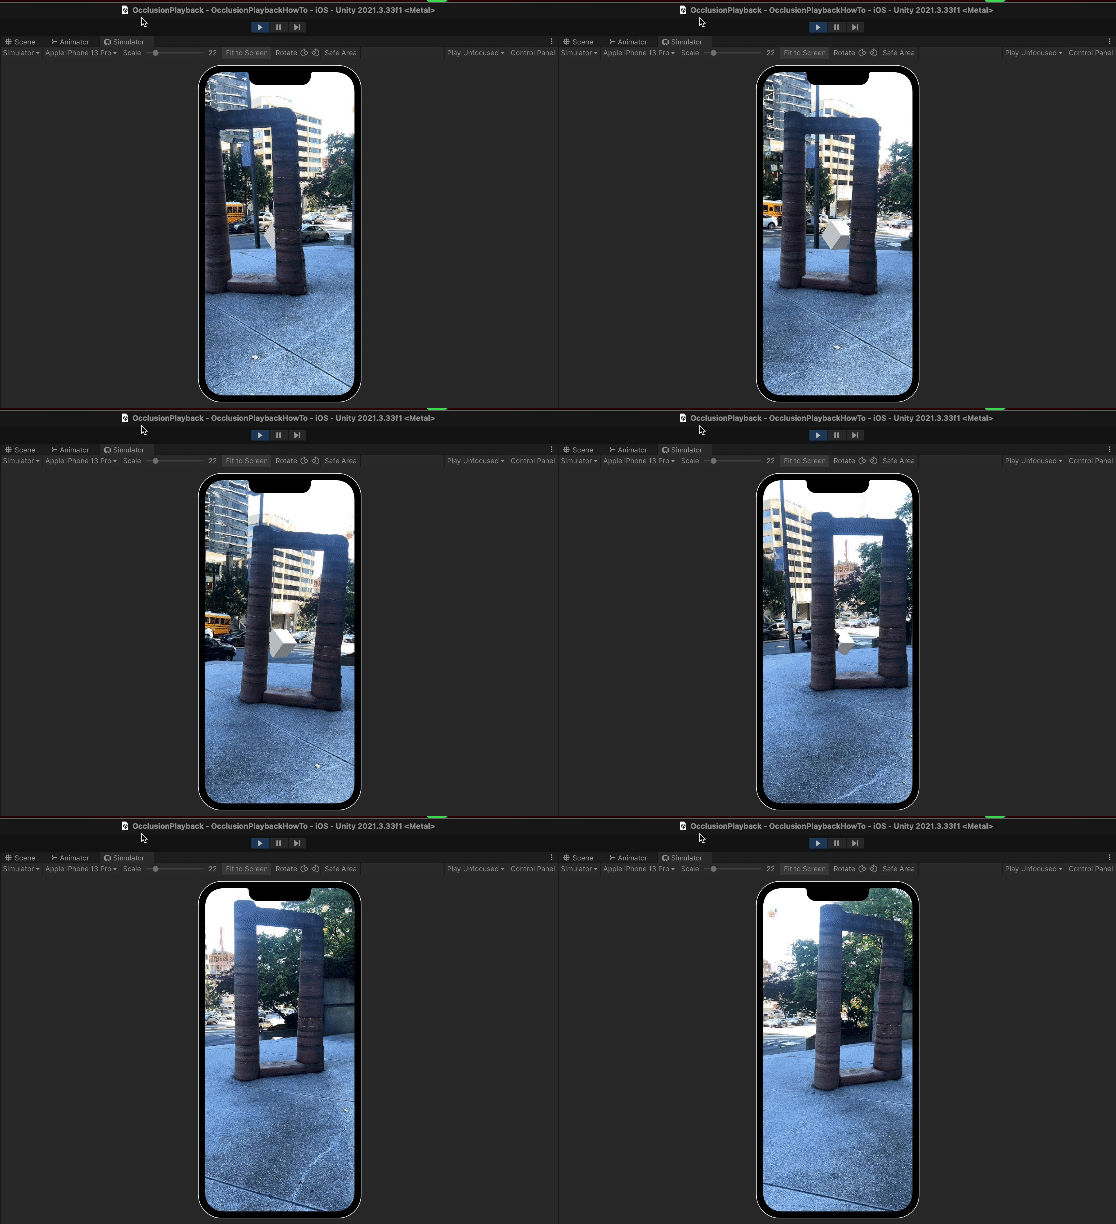
How to Use Occlusion with AR Playback in the Unity Editor
Lightship Occlusion creates depth in AR applications, rendering game objects in front of or behind objects in the real world. In ARDK 3.0, Lightship integrates seamlessly with the AR Foundation Occlusion Manager, enabling occlusion options not available in ARKit and ARCore. Using Playback, you can iterate in the Unity editor rather than building to device. Playback will run our algorithms in the editor using recordings.
Prerequisites
You will need a Unity project with ARDK installed and a basic AR scene set up. For more information, see Installing ARDK 3 and Setting up an AR Scene. You will also need a Playback Dataset. For instructions on creating your own playback recording or downloading a sample dataset, see How to Setup Playback. This guide will be using this Playback dataset from the Lightship Github.
Setting Up Occlusion
To setup Lightship occlusion:
- Add an
AROcclusionManagerto your Main CameraGameObject:- In the Hierarchy, expand the
XROriginand Camera Offset, then select the Main Camera object. Then, in the Inspector, click Add Component and add anAROcclusionManager.
- In the Hierarchy, expand the
- Add a cube as a child of your Camera and set its position and scale:
- In the Hierarchy, right-click the Main Camera object, then mouse over 3D Object and select Cube.
- In the Inspector, under the Transform heading, set the cube's position to (0, 0, 6), its scale to (0.5, 0.5, 0.5), and its rotation to (0, 45, 45).
- Depending on what Playback dataset you choose to use, you may end up wanting to tweak these values later.
- When you build to device or use playback, your cube will be occluded by physical objects that are less than 6 meters away from your phone.
Setting Up Playback
- Open the Lightship SDK settings menu (either via Edit > Project Settings > XR Plug-in Management > Lightship SDK, or via Lightship > Settings to open it in the Inspector window).
- Under the Playback header, with the Editor tab selected, check the Enabled box.
- Click the button to the right of the Dataset Path field to browse to the location of your Playback dataset. This can be located anywhere in your file system when using Playback in the Unity Editor. However, if you want to run Playback in a build, the files must be located inside your project’s StreamingAssets folder.
- Consider also checking the Loop Infinitely box, so the Playback dataset plays repeatedly.
Using Occlusion With AR Playback
Your scene is now set up with Occlusion and AR Playback. You should now be able to press the Play button in the Unity editor, and see Occlusion working with your Playback dataset.
