How to Create a VPS-Activated Location
We are continually growing our global coverage of VPS-Activated locations, but you may have a specific location in mind that is not yet VPS-Activated. If the location you’d like to use in your project is not available, you can submit locations to Niantic by following these instructions.
Prerequisites
- You must have an account set up on https://lightship.dev.
- You should review the Location Requirements and Scanning Best Practices.
Steps
- Access the Geospatial Browser
- Go to https://lightship.dev.
- Click Sign-In in the upper right corner.
- This should take you to the Dashboard. On the left-hand menu, click Geospatial Browser.
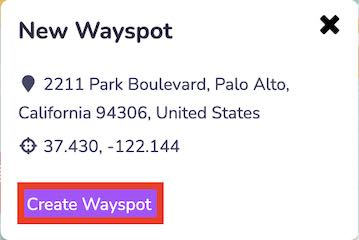
- Select a location on the map where you want to activate VPS. This will bring the New Wayspot dialog.

- Click Create Wayspot. This will bring up the Create Wayspot dialog.

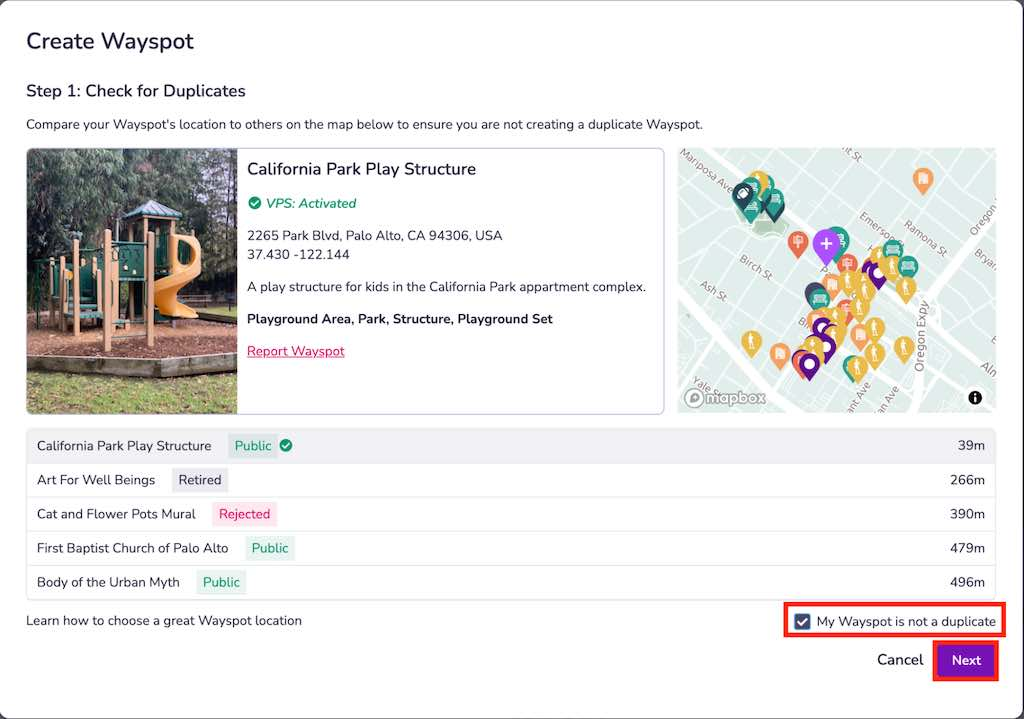
- Check for duplicates.
- Before creating a new VPS-Activated location, you must check that your location doesn’t already exist. Compare your desired location to others already on the map to ensure that you are not creating a duplicate.
- If this is not a duplicate location, you must check the My Wayspot is not a duplicate box.
- Click Next.
- Add location Information. Location metadata will be visible to developers using the Geospatial Browser and can be visible to end-users. Remember that Niantic’s Trust & Safety team uses the information you provide to determine whether the location meets our criteria to be made publicly available.
- Add this information:
- Title (125 characters)
- Description (250 characters)
- Category (1 or more)
- Image (if available)
- Click Submit.
- Add this information:
- Your location should immediately be added to your Wayspot Submissions tab in the Geospatial Browser with the type
Pendingand the statusNot Activated. You can continue to scan and activate this location while your request to make this location Public is being processed.